

By now, you should know that face masks are one of the low-cost skincare products you’ll probably find in the market, that is if you don’t DIY skincare already. The chances that you’ve tested a face mask or two are high but the question is, “are you applying them the right way?”
Each face mask is unique, therefore the instructions on each packet can vary. We often make the mistake of assuming that there’s a certain way to wear a face mask but that is wrong.
This article will be guiding both first time users and the OGs of face masks on the correct way to apply them. Even if you feel you know how to correctly use them, I’d suggest you stick around because there’s probably some beauty nuggets you’ve been missing out on included in this article.
Step 1: Choose the Right Mask for Your Skin Type
Just like your loved and expensive moisturizers, cleansers and sunscreens, your face masks need to be tailored to your skin type. It wouldn’t do for you to use a face mask meant for oily skin on a dry skin. So, ask your dermatologist or even the shop attendant if you get confused while making your purchase.
Below are some of the different types of face masks available:
A. Clay Masks: Best used on oily and acne-prone skin as they absorb excess oil.
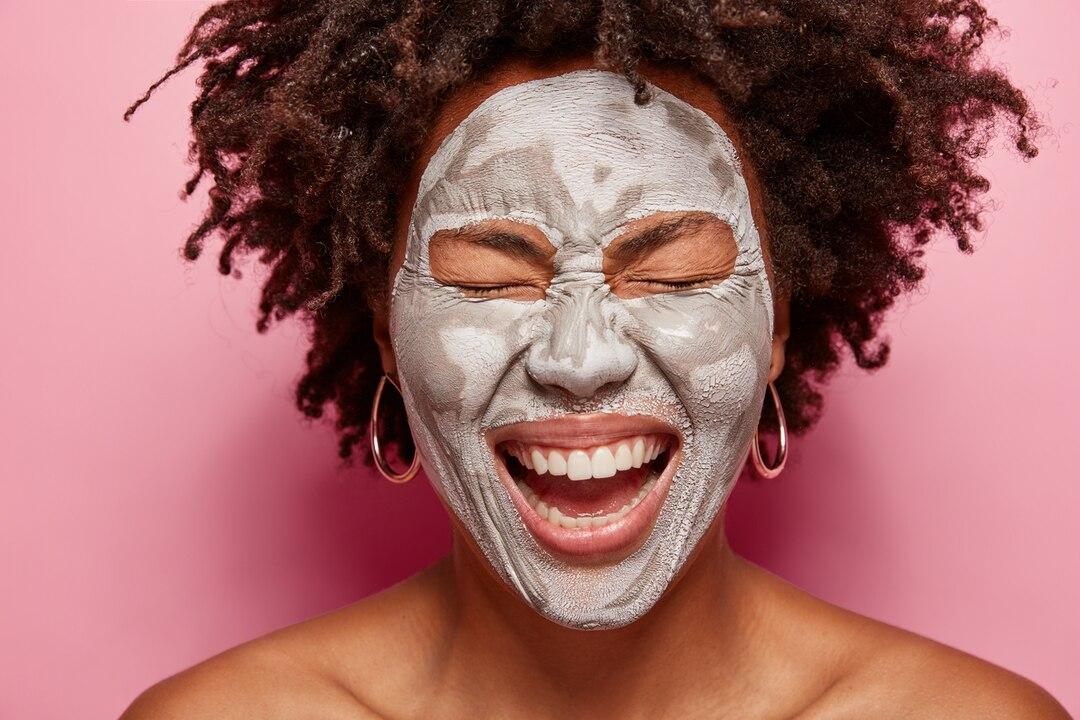
— How They Work: Clay masks contain natural clays like kaolin or bentonite, which have excellent absorbent properties. They work by drawing out impurities, excess sebum, and toxins from the skin.
— Benefits: Consistent use can help reduce the appearance of pores, prevent breakouts, and leave the skin looking matte and fresh.
— Application Tips: Apply a thin layer to clean, dry skin. Leave it on until it starts to dry but not completely because over-drying can strip the skin of natural oils. Afterwards, rinse off with lukewarm water.
B. Sheet Masks: This is ideal for hydrating and soothing sensitive skin.
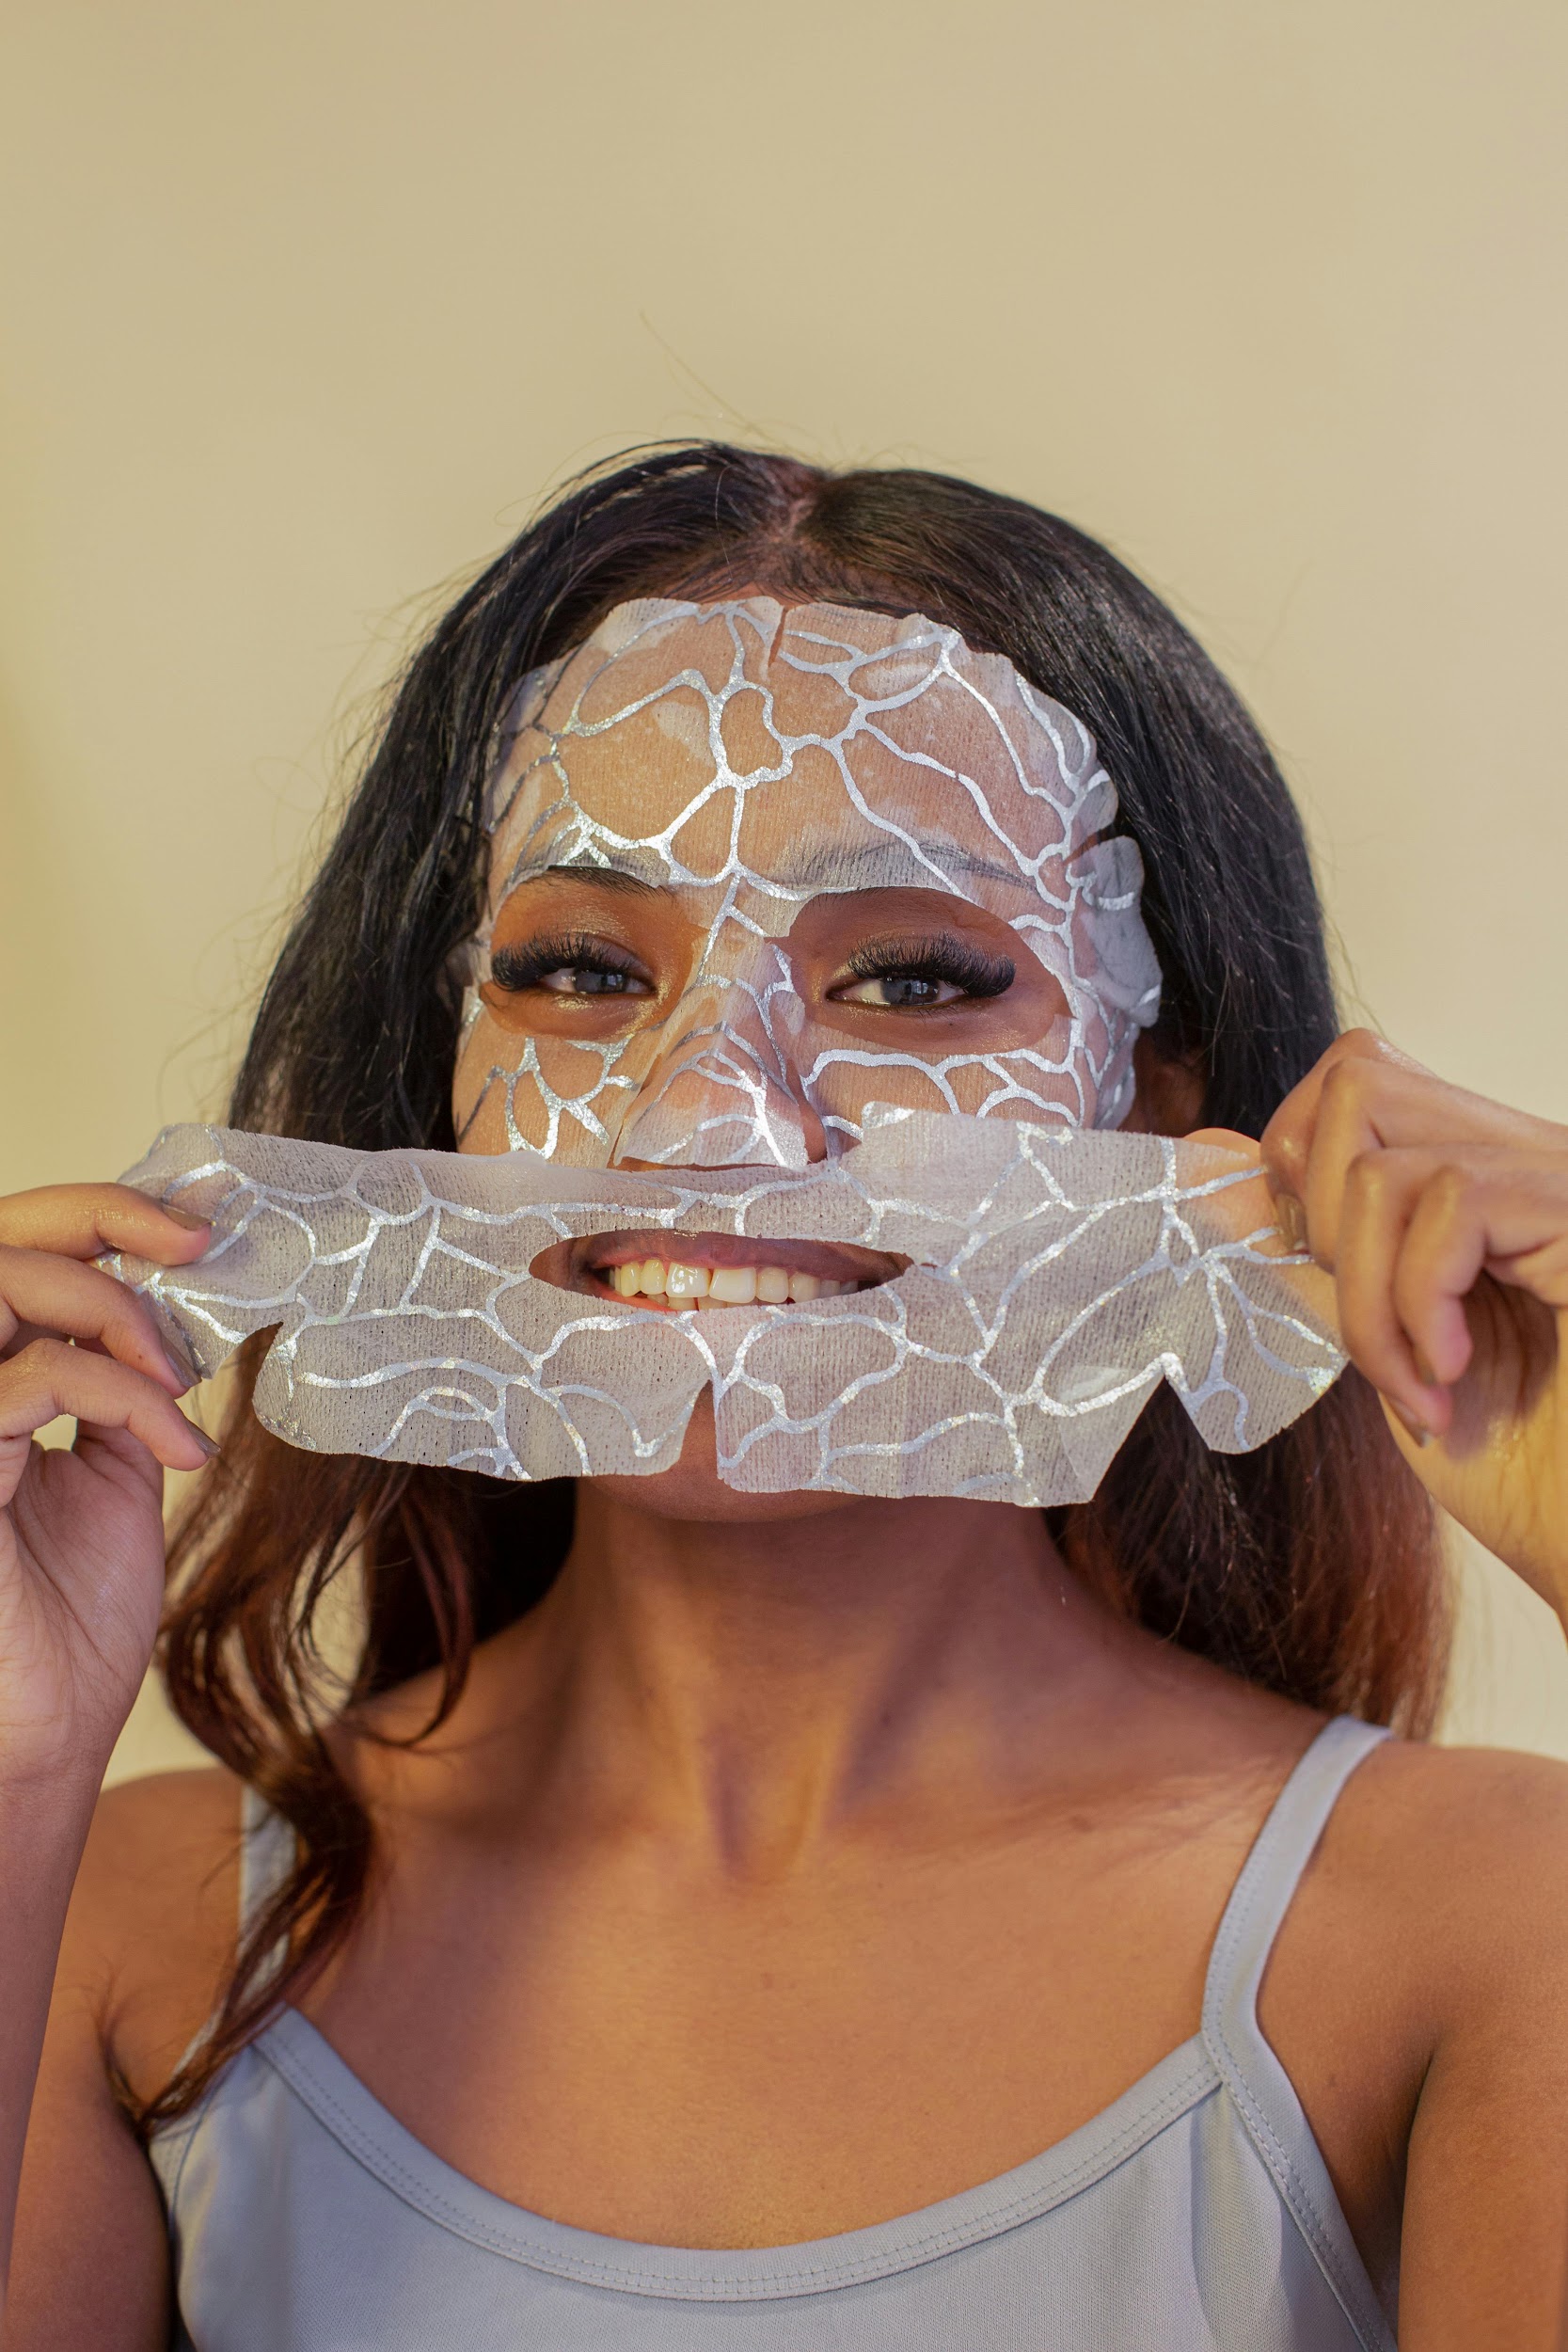
— How They Work: Sheet masks are usually soaked in a serum packed with hydrating ingredients such as hyaluronic acid, glycerin, and soothing agents such as aloe vera and chamomile.
— Benefits: They provide an instant boost of moisture, calm irritated skin, and often helps to improve the skin’s texture and elasticity.
— Application Tips: Carefully unfold the mask and place it on your face, aligning the openings with your eyes, nose, and mouth. Leave it on for 15-20 minutes, then remove and gently pat the remaining serum into your skin. Afterwards, rinse off your face with cool or warm water and apply a moisturizer.
C. Gel Masks: These are perfect for dry or dehydrated skin and provide a cooling effect to the skin.
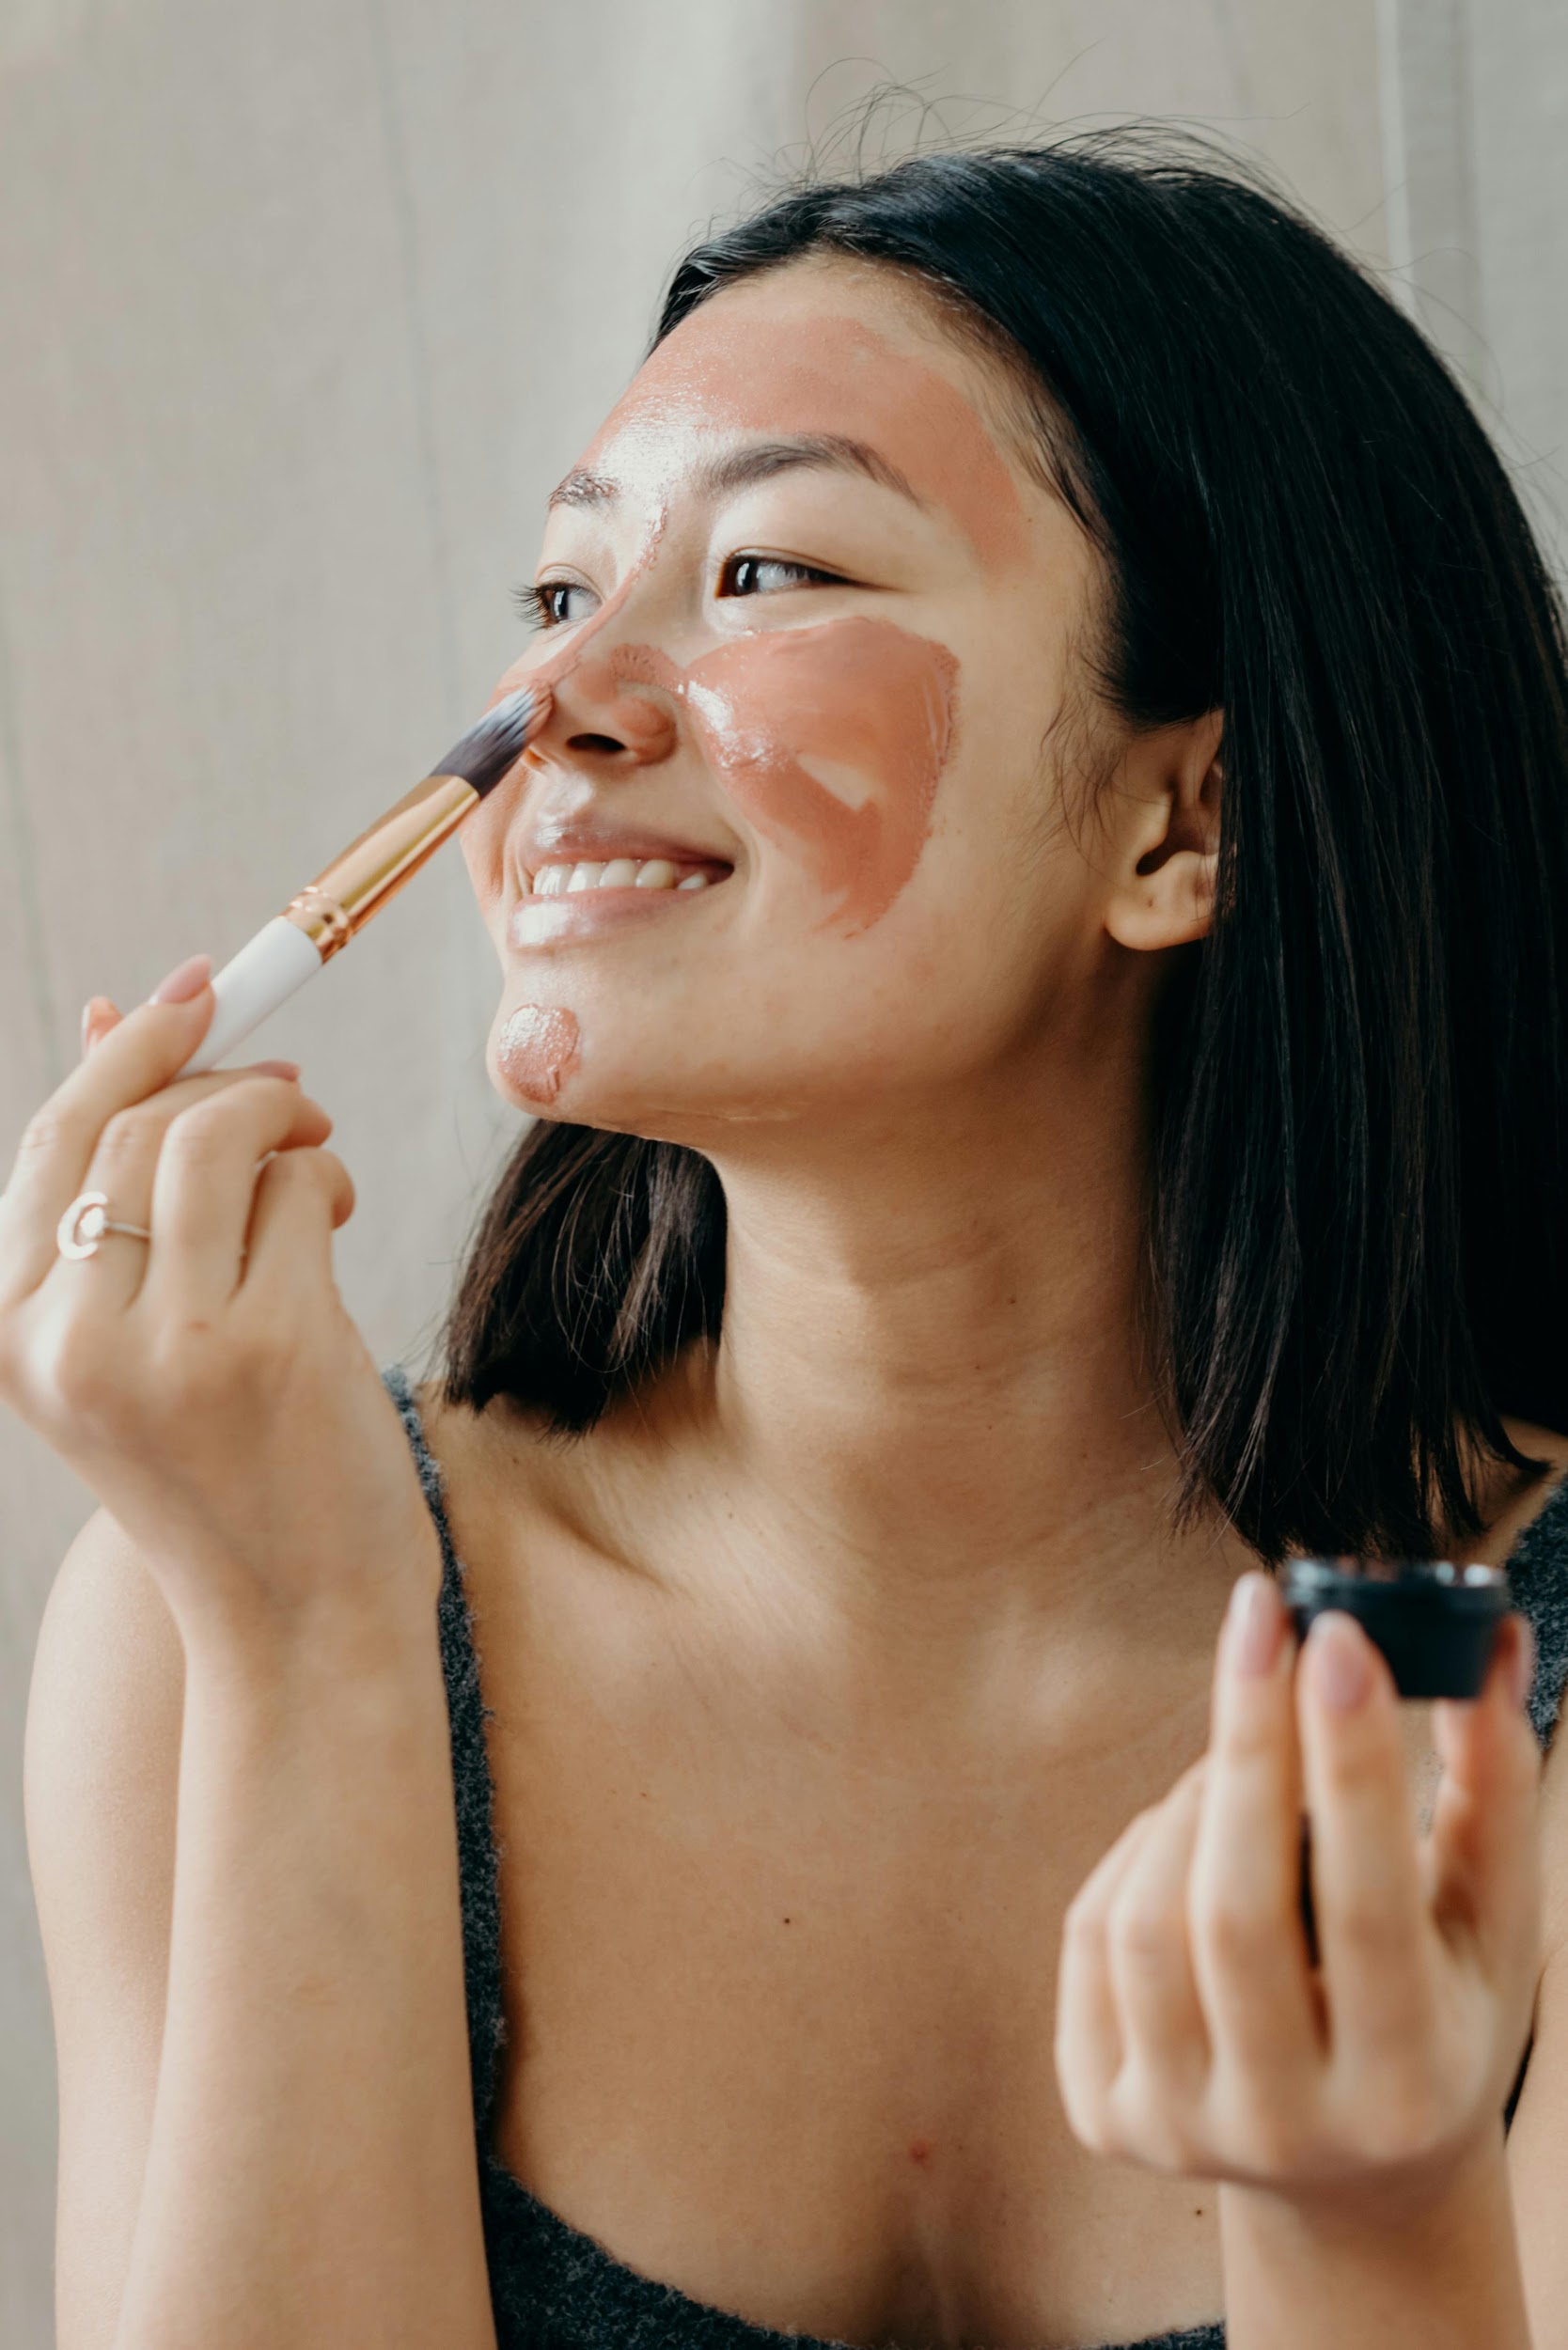
— How They Work: Gel masks are mostly lightweight and often contain ingredients like aloe vera, cucumber, and marine extracts that hydrate and cool the skin.
— Benefits: They are excellent for soothing sunburned or irritated skin, reducing redness, and providing a refreshing, cooling sensation to the face.
— Application Tips: Apply a generous layer to clean skin and leave it on for the recommended time (this is usually written in the product). Some gel masks can be left on overnight for an intensive treatment. Be sure to properly read the instructions before application.
D. Exfoliating Masks: This mask is used for removing dead skin cells and promoting a smoother complexion.
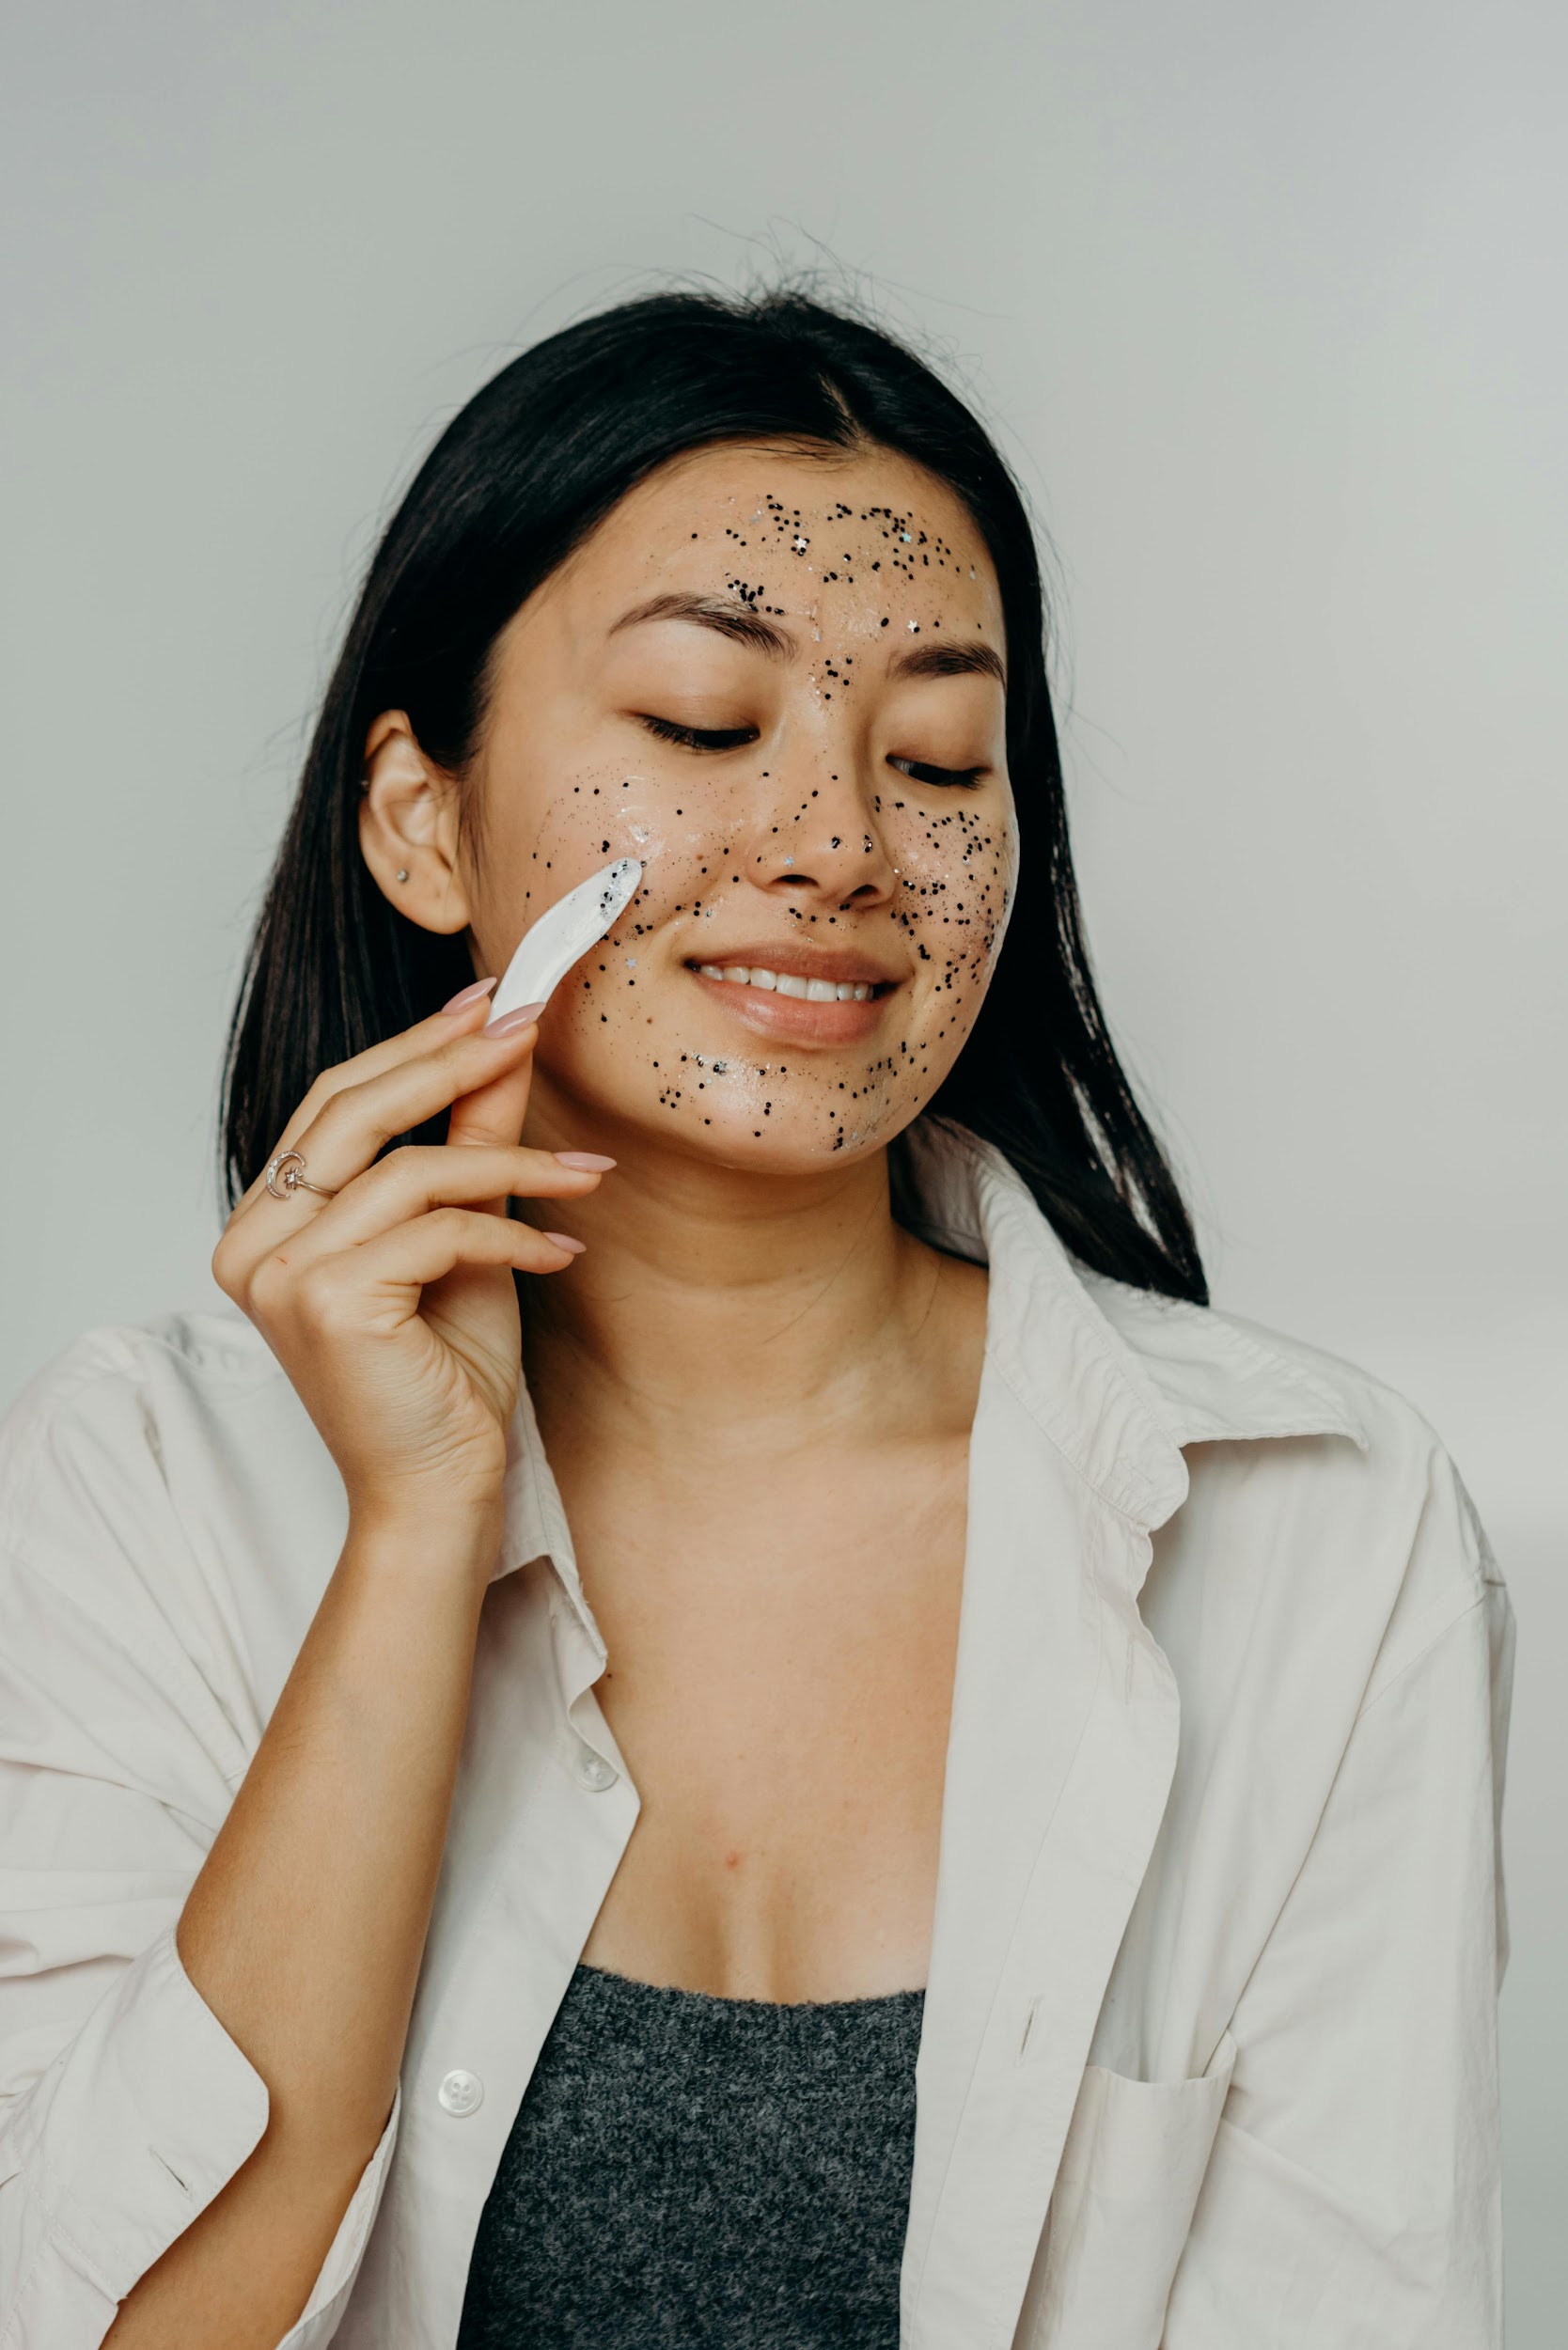
— How They Work: Exfoliating masks contain ingredients like alpha hydroxy acids (AHAs), beta hydroxy acids (BHAs), or physical exfoliants that help ‘peel’ off dead skin cells.
— Benefits: Consistent use of this mask helps improve skin texture, brighten the complexion. It also helps with hyperpigmentation and fine lines.
— Application Tips: Apply to clean skin and leave on for the specified time, usually 5-10 minutes. Be sure to follow the instructions carefully to avoid over-exfoliation, which can irritate the skin.
Step 2: Gather Your Materials
Before you begin applying your face mask, make sure you have all the necessary items on hand. Some of the items you’ll need include:
- Face mask of your choice
- Clean towel
- Soft brush or applicator (optional)
- Warm water
Step 3: Prep Your Skin
- Cleanse: Start with a clean face. Use a gentle cleanser or even soap to remove makeup, dirt, and oil.
- Exfoliate: Lightly exfoliate your skin to remove dead skin cells and allow better absorption of the mask.
- Steam: This one is totally optional. You can steam your face for a few minutes to open up your pores.
Step 4: Application
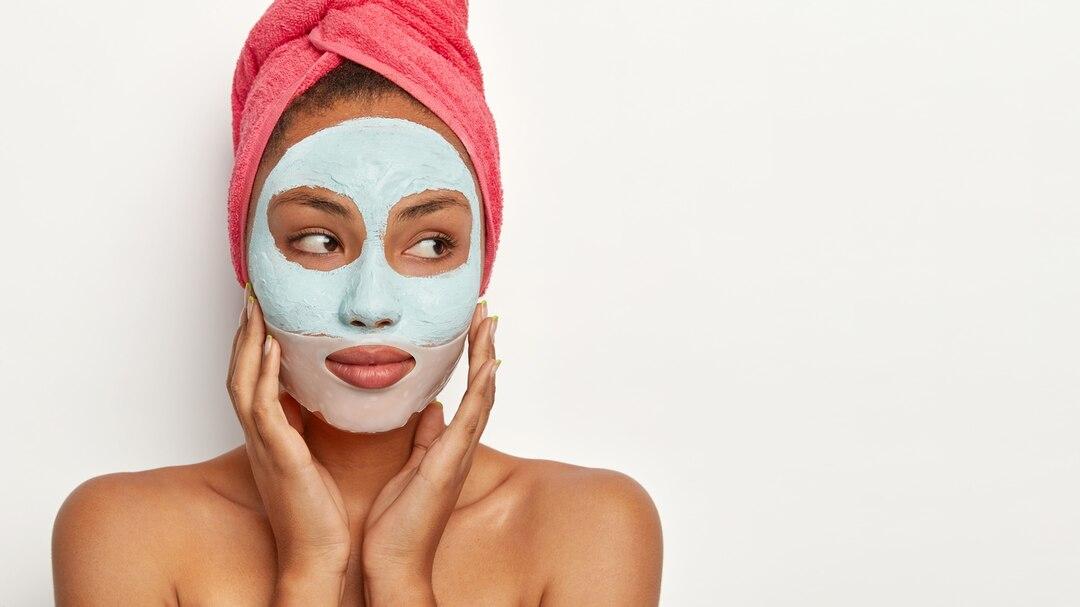
- Apply Evenly: Using your (clean) fingers or a soft brush, apply the mask evenly across your face, making sure to avoid the eye and lip areas.
- Read and Follow Instructions: Each mask has specific instructions regarding the duration it should be left on. Typically, it’s around 10-15 minutes but make sure to read the instructions before application.
- Relax: Use this time to relax. Avoid talking or moving your facial muscles too much. You can even meditate while at it, just make sure to avoid falling asleep if the mask is for a short duration.
Step 5. Removal

- Rinse Off: Use lukewarm water to gently rinse off the mask. Avoid using hot water as it can strip your skin of natural oils.
- Pat Dry: Gently pat your face dry with a clean towel. Avoid rubbing your skin in this step.
Step 6. Post-Mask Care
- Tone: Apply a toner to help close your pores and restore your skin’s pH balance.
- Moisturize: Follow up with a moisturizer to lock in hydration.
- Sunscreen: If you’re applying the mask during the day, don’t forget to apply sunscreen to protect your skin from UV damage.
Tips for Best Results
- Frequency: Use face masks 1-2 times a week – this depends on your skin type and the mask’s purpose.
- Patch Test: Always do a patch test before using a new mask to make sure you don’t have an allergic reaction to the ingredient used in the mask.
- Consistency: Like any dermatologist will advise, consistency is key. Regular use of face masks can lead to better results over time.