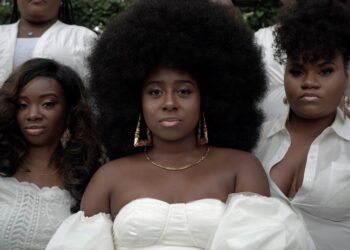
Blush is having a moment. Walk into any beauty space in Lagos, from the counter at Spar to a celebrity makeup artist’s kit, and you will see it. Note that this isn’t the subtle flush of years past, but a deliberate, makeup placement. In other words, nowadays blush is no longer an afterthought but a sculpting tool.
But here is what the viral videos do not tell you: the placement that works on one face will look bad on another. The trick to using blush as a sculpting tool is not in the product. It is in understanding the architecture of your own face.
Why Placement Matters More Than Shade
A common mistake is focusing entirely on the colour. Women spend hours debating whether a peachy tone or a berry flush suits their skin, only to apply it in the same sweeping motion they have used since secondary school.
The goal of blush, when used intentionally, is to enhance the natural structure of your face. To lift where gravity pulls. To soften where bone creates harsh lines. To bring the eye exactly where you want it to go. Placement determines all of this. Shade merely completes the picture.
For the Round Face: Create Angles
If your face is round (ie equal in width and length, with soft, curved edges), your objective is to create the illusion of lift and structure. You want to draw the eye upward and inward, elongating the appearance of your face.
Apply your blush high on the cheekbones, just below the outer corner of your eye, and blend upward toward your temples. The motion should be diagonal, not circular. You are not painting apples on your cheeks. You are carving angles. Keep the colour concentrated on the upper portion of the cheekbone and avoid bringing it toward the centre of your face, which will only emphasise roundness.
Celebrities with round faces like Michelle Obama and Kerry Washington often use this technique to create the appearance of higher, more sculpted cheekbones.
For the Oval Face: Emphasise Balance
An oval face is longer than it is wide, with a forehead slightly wider than the chin. This is the shape that most placement techniques work on easily, which makes it tempting to be lazy. Do not be.
Your goal is to maintain balance. Apply blush to the apples of your cheeks—the roundest part when you smile—and blend outward toward your temples. The shape should be soft and diffused, not harsh. You have the luxury of versatility, but the most flattering placement keeps the focus on the centre of your face while lifting slightly toward the hairline.
The key for oval faces is moderation. Because the proportions are already balanced, too much blush or placement that skews too high or too low can throw off the harmony.
For the Square Face: Soften the Angles
A square face is defined by a strong jawline and a forehead of similar width. The cheekbones are often pronounced, and the overall shape is angular. Your objective is to soften those angles, creating the illusion of roundness without losing structure.
Apply blush slightly below the apples of your cheeks, blending in a circular motion rather than a sharp diagonal. The colour should diffuse outward toward the ears, but not extend past the outer corner of your eye. Avoid sweeping blush directly along your cheekbone, which will only accentuate the angularity you are trying to soften.
The goal is to add softness to the lower half of your face without sacrificing the strength of your bone structure. Think of blush as a way to introduce curves where the lines are sharp.
For the Heart-Shaped Face: Ground the Forehead
A heart-shaped face is wider at the forehead and narrows to a pointed chin. The cheekbones are often high and prominent. Your objective is to draw attention downward, balancing the width of your forehead with the lower portion of your face.
Apply blush just below the apples of your cheeks, blending toward the centre of your face rather than outward. This placement draws the eye inward and downward, creating balance. Avoid sweeping blush toward your temples, which will only widen the upper portion of your face further.
Celebrities with heart-shaped faces like Rihanna and Naomi Campbell often use this technique to ground their features, creating a sense of harmony between the wider forehead and the delicate chin.
For the Long Face: Shorten the Appearance
A long face is noticeably longer than it is wide, with a high forehead and often a longer chin. Your objective is to create the illusion of width, shortening the overall appearance of the face.
Apply blush horizontally across the apples of your cheeks, blending outward but stopping before you reach your ears. The motion should be side to side rather than diagonal. This placement widens the centre of your face, breaking up the vertical line that makes it appear long.
Avoid sweeping blush upward toward your temples. This will elongate the face further, the opposite of what you want to achieve.
For Diamond Faces: Highlight the Centre
A diamond face is narrow at the forehead and jawline, with the widest point at the cheekbones. Your objective is to soften the prominence of the cheekbones while adding width to the narrower areas.
Apply blush directly on the apples of your cheeks, blending softly outward. The placement should keep colour concentrated in the centre of your face rather than extending to the temples. This draws attention to the middle of your face and balances the wider cheekbones with the narrower forehead and jaw.
Application Techniques That Work for Everyone
Once you have identified your placement, the technique matters as much as the location. Here are principles that apply regardless of your face shape:
Start with less. You can always add more. It is much harder to remove excess product without disrupting your base.
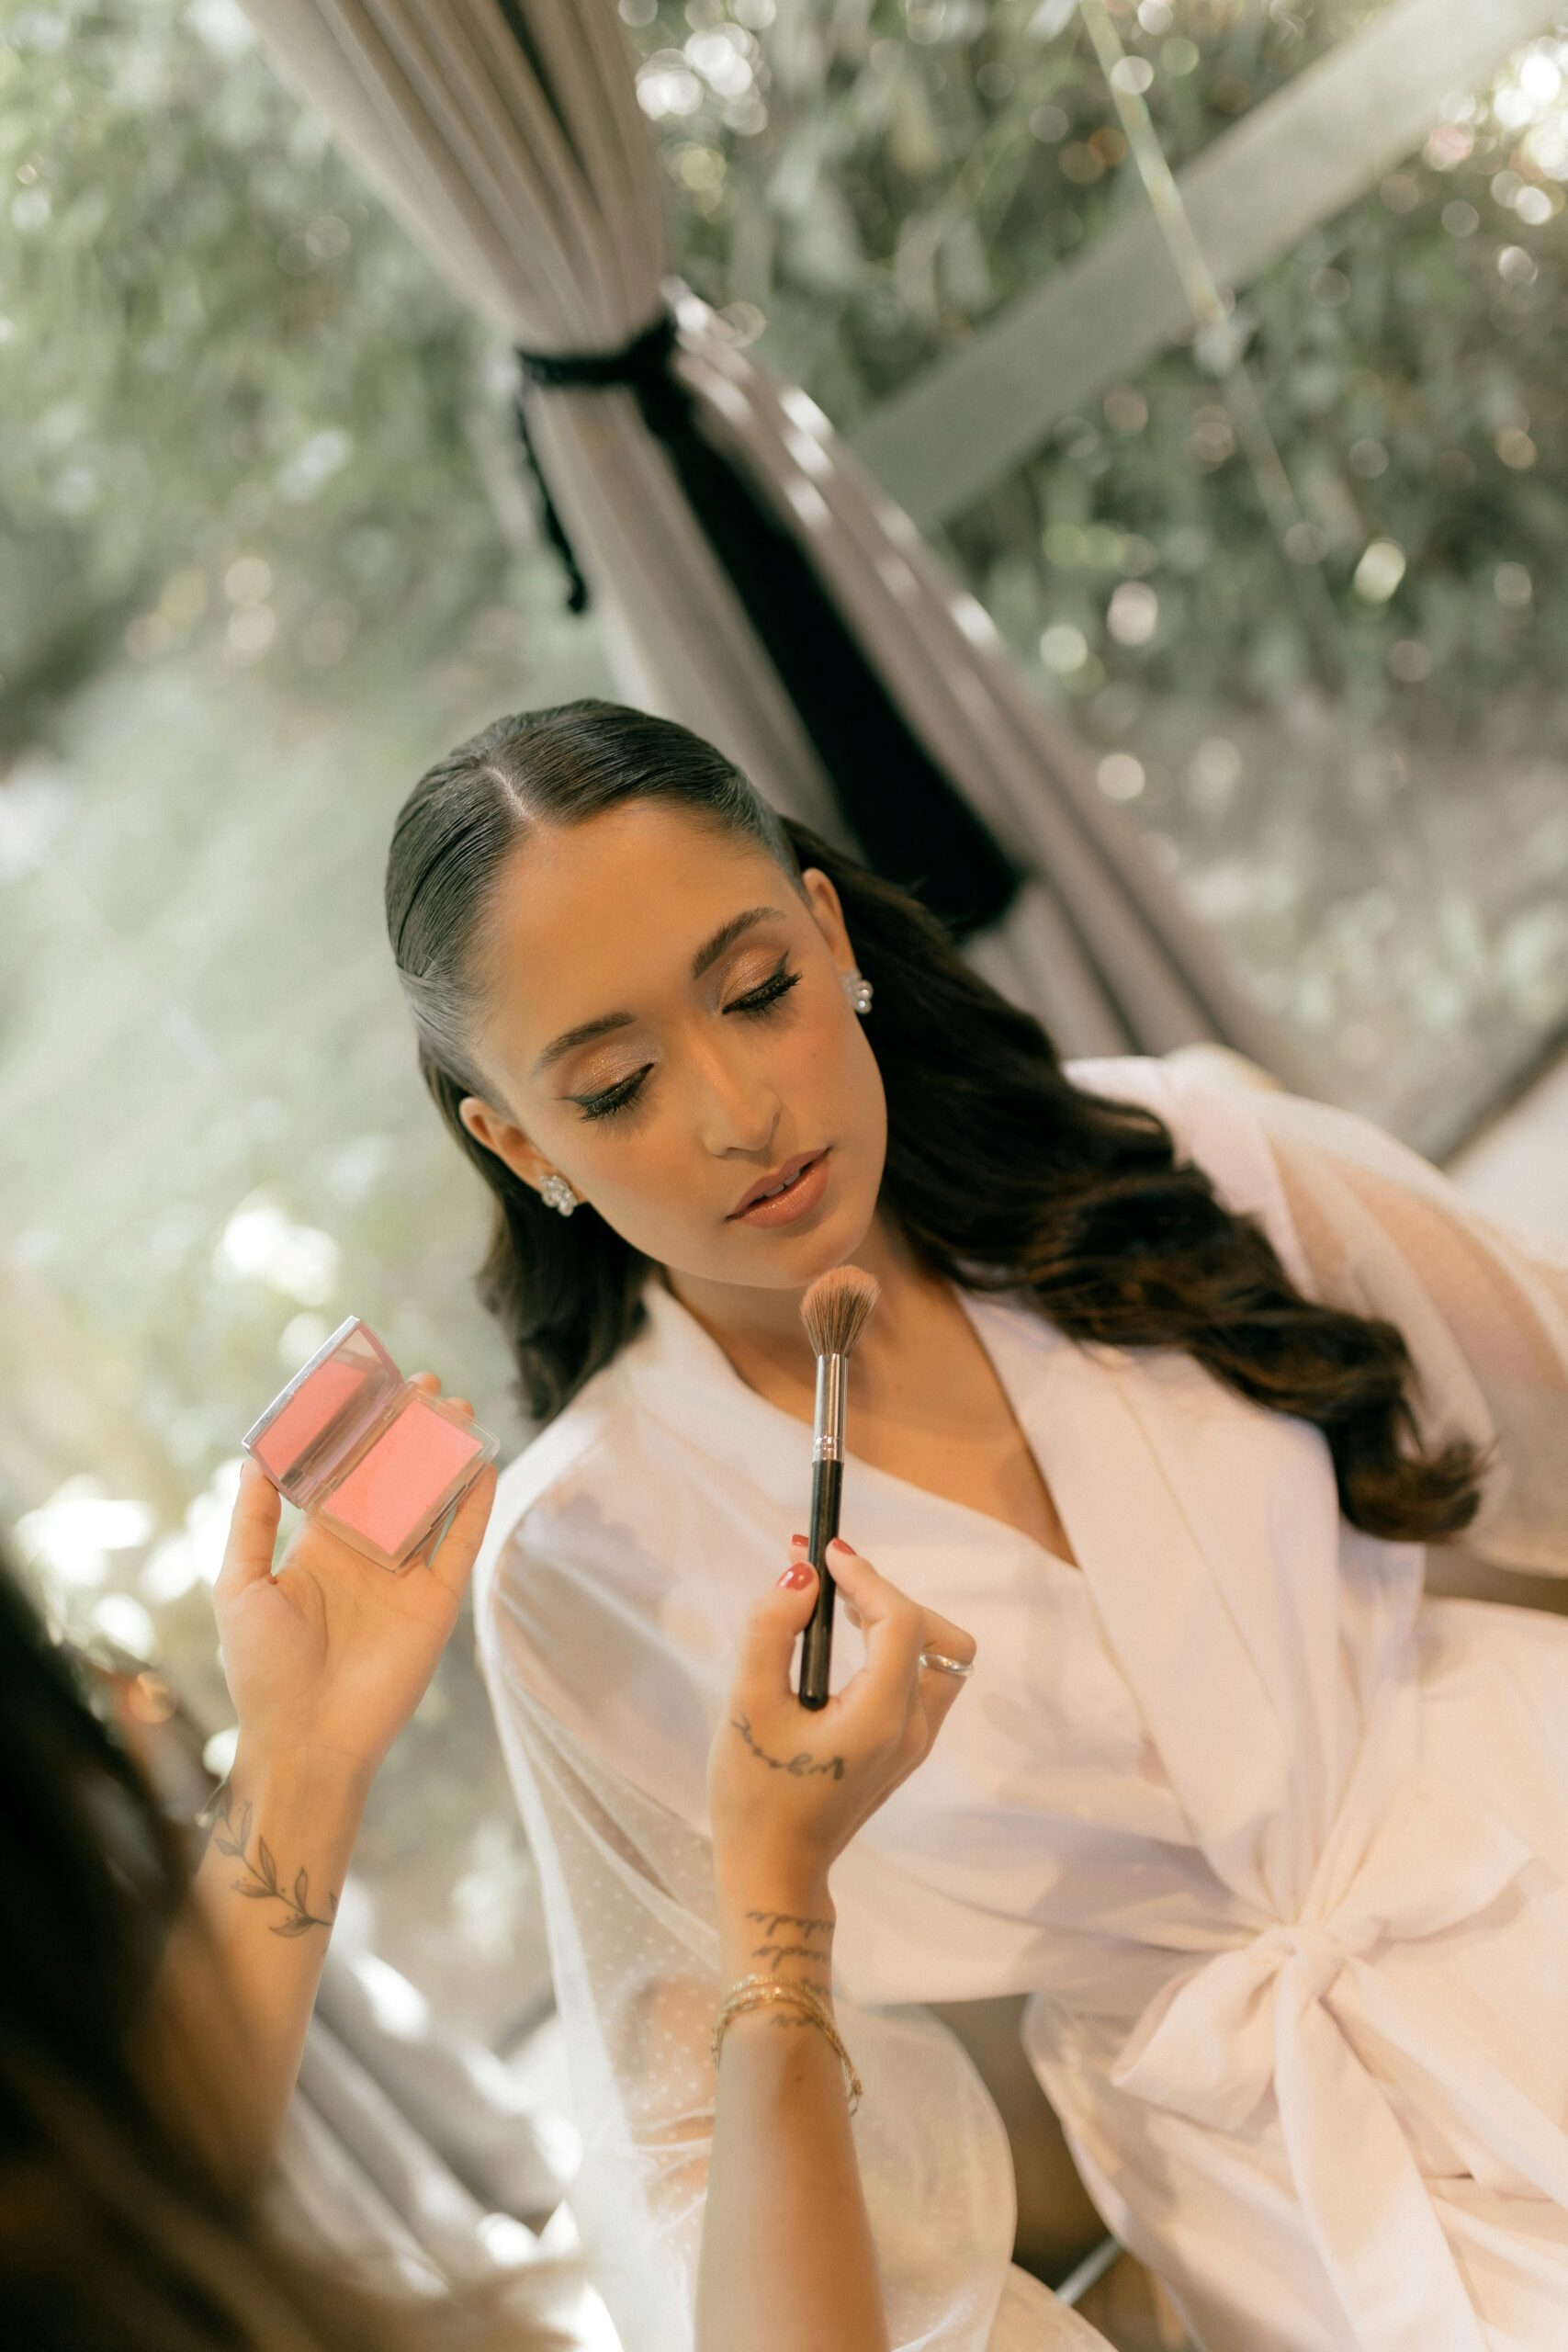
Use the right tool. A dense, angled brush gives you control. A fluffy brush diffuses colour but makes precise placement more difficult. For sculpted results, an angled brush is your ally.
Cream before powder. If you want a dimension that lasts, apply a cream blush first, then set with a powder in a similar shade. This layering technique creates depth and ensures your blush stays put through Lagos weather.
Blend, blend, blend. The difference between sculpted dimension and a stripe is in the blending. Use clean brushes or a damp sponge to soften edges. There should be no visible line where the product begins and ends.
The Final Word
Blush is not just a colour. Used correctly, it is a tool for reshaping, lifting, and balancing. The difference between a woman who wears blush and a woman who sculpts with it is not in the product she buys. It is in the placement she chooses.
Take five minutes to study your face. Trace the lines of your cheekbones. Notice where light naturally hits and where shadows fall. Then choose your placement with intention.
Your face shape is not a limitation. It is a blueprint. Learn to work with it, and blush becomes not just makeup, but a work of art.