

This might not be common knowledge but dealing with unwanted body hair is a universal struggle and when you factor in upper lip hair, it becomes a whole new level of frustration.
Whether you’re prepping for a big event or just want to feel confident in your everyday look, waxing can be a game-changer in your overall appearance. This is because it delivers smooth, long-lasting results by removing hair from the root and also helps reduce regrowth over time.
But if we’re being real, waxing your upper lip can feel intimidating. It’s a delicate area, and the thought of pulling hair from such a sensitive spot might make you extremely worried. Don’t worry though, we’ve got you covered. With the right techniques and a little know-how, you can wax like a pro and achieve flawless results without the stress.

Just keep reading for expert tips and step-by-step guidance to make your waxing experience smooth (literally) and hassle-free.
How to Wax Your Upper Lip Like a Pro: A Step-by-Step Guide
Like I earlier assured you, waxing your upper lip doesn’t have to be a daunting task. With the right techniques and a little practice, you can achieve smooth, hair-free skin from the comfort of your home. There’s no discrimination here, whether you’re a waxing newbie or just looking to refine your skills, this step-by-step guide will walk you through the process like a pro.
Step 1: Wash Your Hands Thoroughly
A little disclaimer here: Before you even think about touching your face, make sure your hands are clean. Wash them thoroughly with soap and water to remove any bacteria or dirt. This step is especially important when waxing a delicate area like the upper lip, as it helps prevent irritation and infection.
Pro Tip: Some people prefer to wear gloves for an extra layer of protection during waxing.
Step 2: Cleanse and Lightly Exfoliate the Area
Start by cleansing your upper lip to remove any makeup, oil, or dirt. Use a gentle cleanser and pat the area dry. For even better results, lightly exfoliate to remove dead skin cells and ensure the wax adheres properly to the hair. Exfoliation helps prevent ingrown hairs and ensures a smoother waxing experience.
After cleansing, apply a pre-wax cleanser to remove any remaining oils. Follow up with a light dusting of powder to create a barrier between your skin and the wax. This step helps the wax grip the hair more effectively, making the process less painful and more efficient.

Step 3: Apply Wax in the Direction of Hair Growth
Always read the instructions on your wax product, as application methods can vary. It is advised to apply the wax in the same direction as your hair growth using an applicator. Work in small sections to ensure even and total coverage.
According to an article by Byrdie, it is advised that you “Apply wax evenly in the direction of hair growth… You want enough wax to thoroughly cover the hair, but not so much that it becomes difficult to remove.”
Step 4: Pull the Wax in the Opposite Direction of Hair Growth
Once the wax has set, hold your skin taut with one hand and pull the wax strip (or hardened wax) in the opposite direction of hair growth. Use a quick, firm motion to minimize discomfort. Pulling against the hair growth ensures that the hair is removed directly from the root, leaving your skin smooth and hair-free.
Pro Tip: Press down on the skin immediately after removing the wax to soothe any discomfort.

Step 5: Tweeze Any Remaining Hairs
If you notice a few stray hairs, resist the urge to re-wax the same area. Instead, use a pair of tweezers to pluck them out gently. This avoids over-irritating your skin and ensures a clean finish.
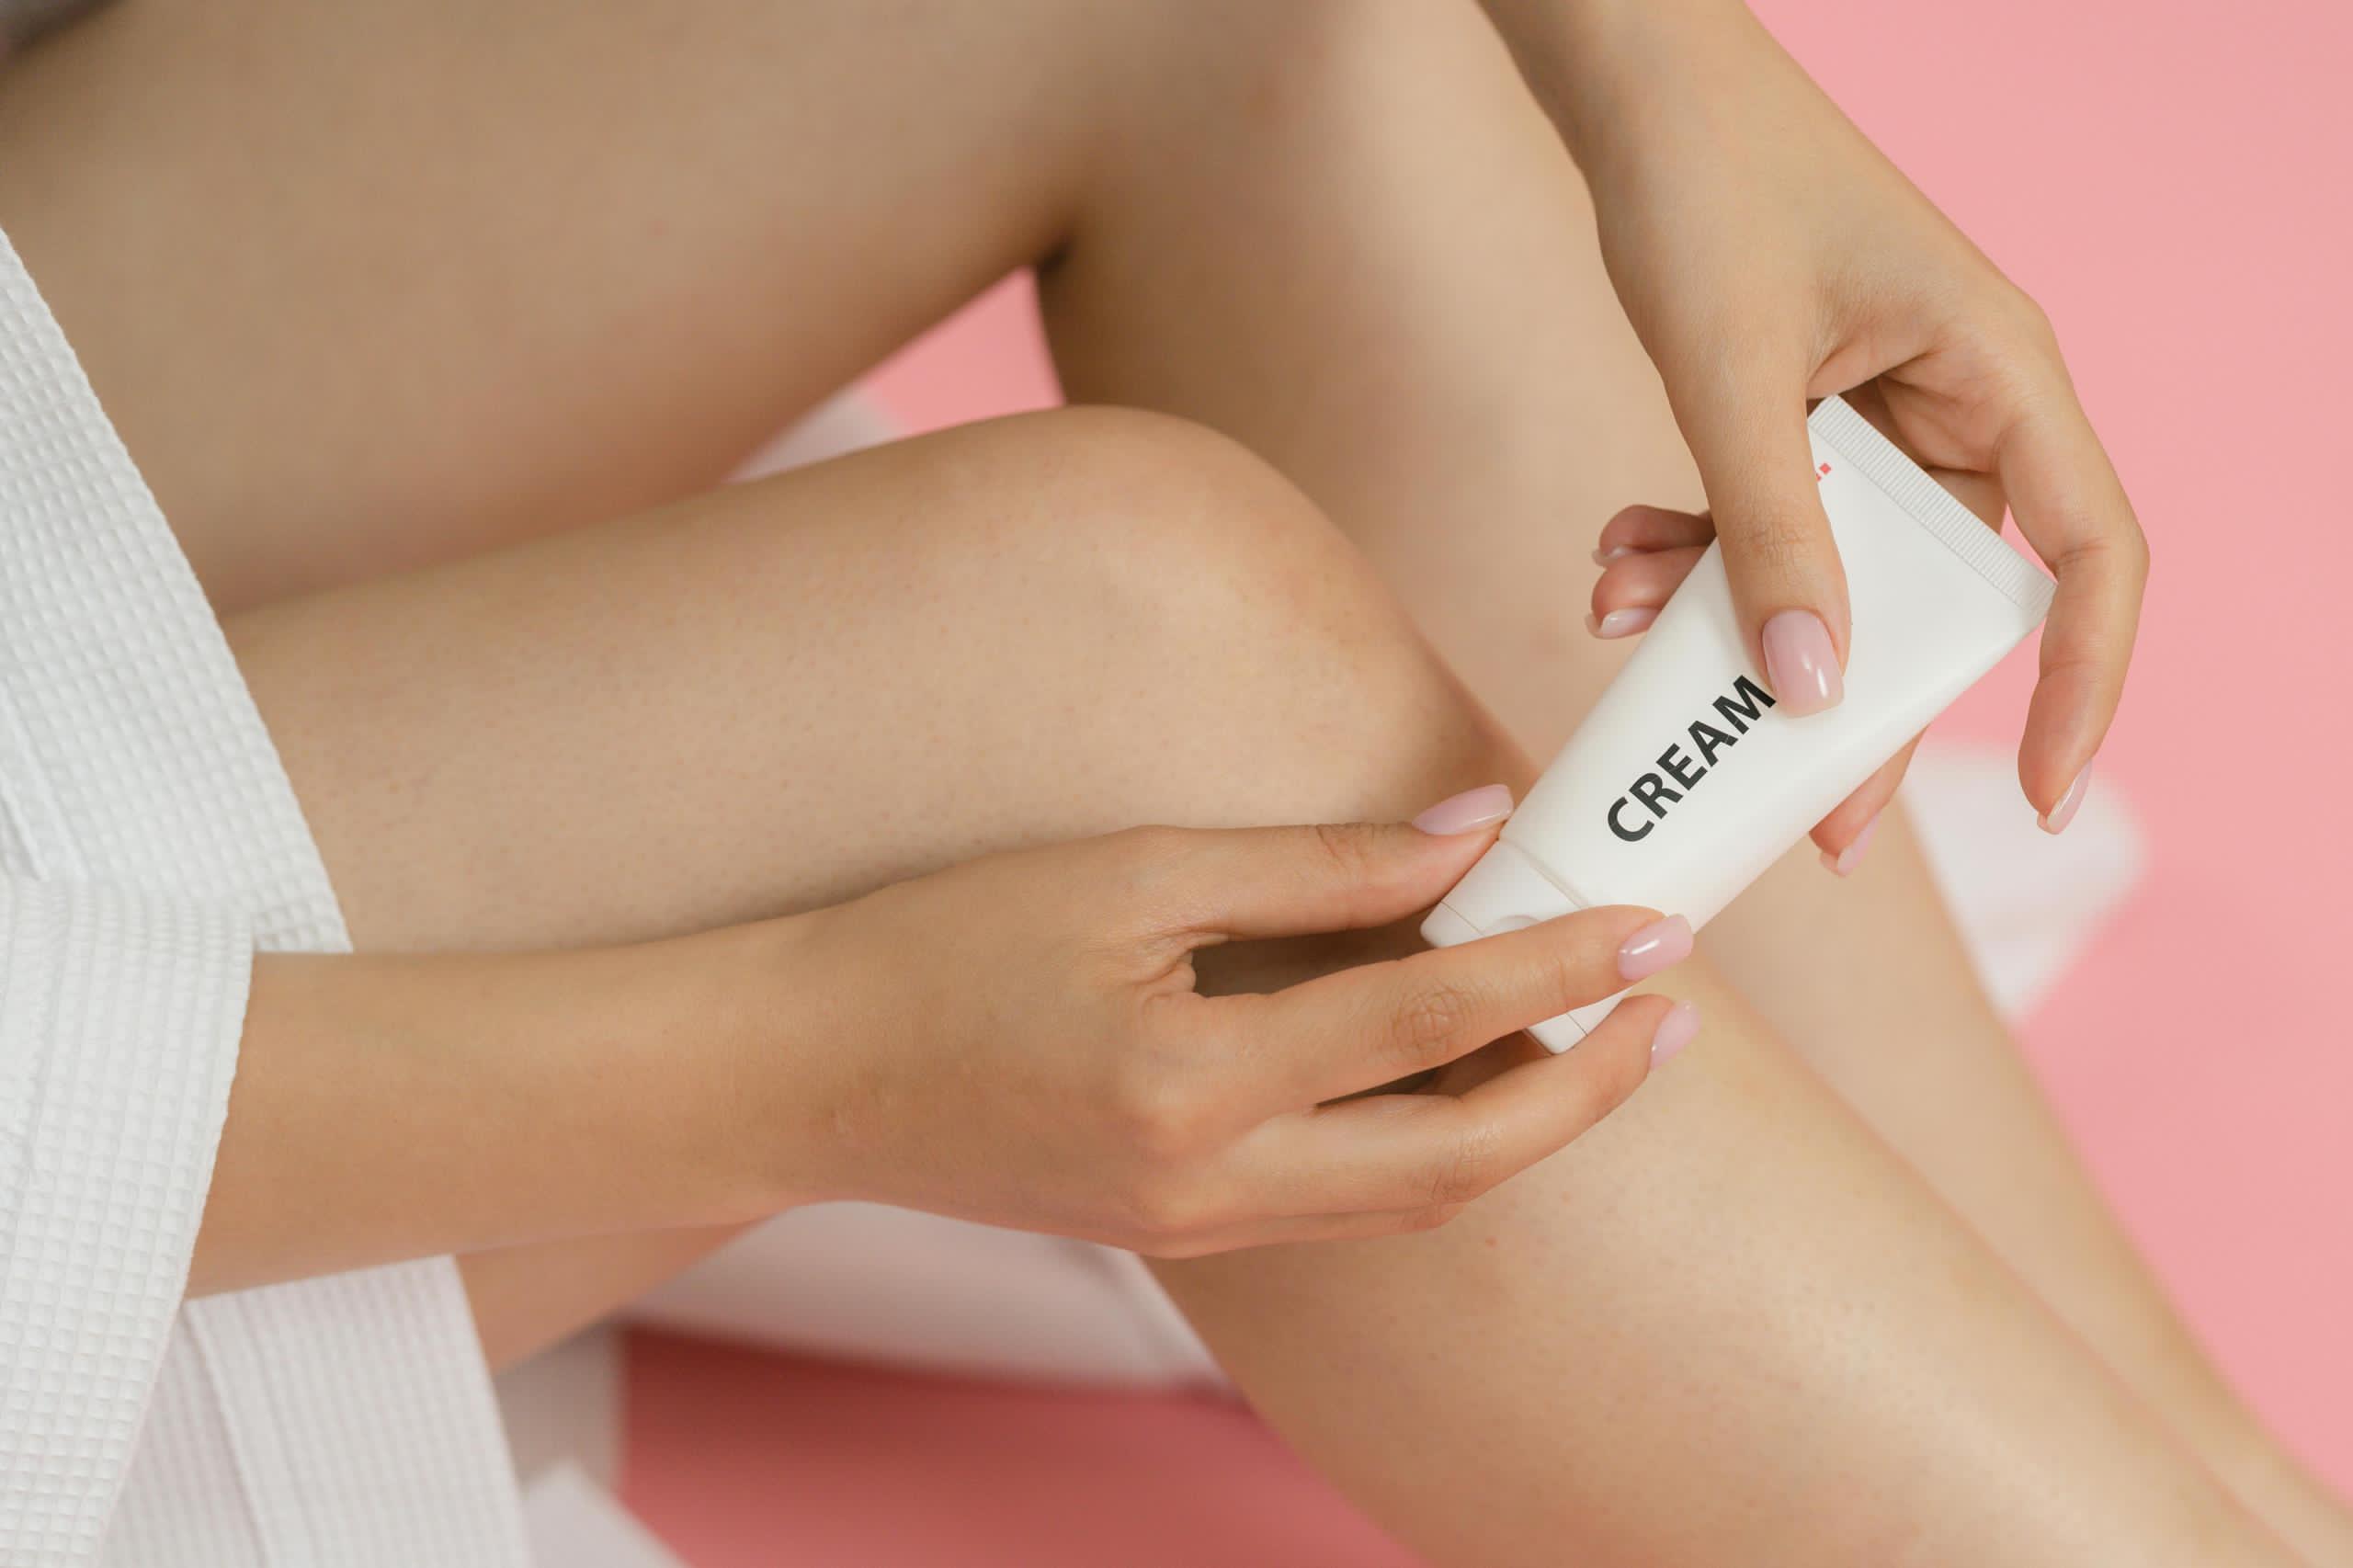
Step 6: Soothe and Protect with Aftercare
After waxing, your skin may look red or feel sensitive—this is completely normal. Apply a soothing product like aloe vera gel or a ceramide-based moisturizer to calm the skin and reduce irritation.
Pro Tip: Use a post-wax oil to remove any leftover wax residue. Avoid touching the area to prevent bacteria from causing further irritation.
Conclusion
Waxing your upper lip can be quick and painless when you follow these steps. By prepping your skin, applying the wax correctly, and using proper aftercare, you’ll achieve smooth, hair-free results that last. Remember, practice makes perfect, so don’t be discouraged if it takes a few tries to get it right.