Do you remember baba dudu, the Nigerian candy? Summer can be a blast for the bachelors and spinsters, but for parents, it’s a whole different story with the kids home all day while schools are on break. While we wait for school to start again in September, there are tons of cool things to do with your kids.
Kids are so easy to please and love being kept busy. Summer is the best time to get them involved in DIY projects, cooking at home, or even arts and crafts. Back in the early 2000s, especially for us Nigerians, there were all these awesome candies and snacks we grew up with like donkwa, kokoro, kuli kuli, baba dudu, and OK pop sweets etc. Some were handmade and you can’t find them as easily anymore.
Why not bring back some of those nostalgic candies this summer and try making them with your kids? They’re nothing like modern stuff filled with artificial junk. Today, we’re diving into how to make the famous baba dudu that you used to grab from the mallam’s kiosk on those warm school evenings.
What is Baba Dudu?
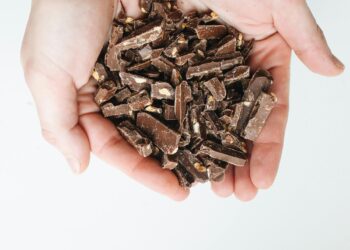
Back in the days, “Baba Dudu” was a treasure we eagerly awaited. It’s made simply, with grated coconut and sugar, cooked until it turns a lovely dark brown color. The scent alone would draw us in from miles around! You see, baba dudu wasn’t just a candy; it was a taste of childhood, a sweet moment shared with friends and family. It has a rich flavor, which is the perfect blend of coconut and caramelized sugar. This candy will melt in your mouth and leave you craving more.
Sometimes, we’d have to beg for some baba dudu balls from our friends because we finished ours in a hurry. You can say that baba dudu has deep roots in Nigerian culture which makes it a beloved treat. This is just a reminder of simpler times and the joy found in something so wonderfully homemade.
Ingredients for Making Baba Dudu
There are two main ingredients, namely: Fresh coconuts or you can use unsweetened coconut milk, and granulated sugar. However, there are some not-so traditional flavorings in this candy like salt, ground ginger and vanilla extract, all of which are optional.
Equipment to Use
- Heavy-bottomed pot
- Sturdy spoon for stirring
- Blender or food processor (if you’re using fresh coconuts)
- Cheesecloth or fine sieve (if you’re using fresh coconuts)
- Baking sheet or plate lined with parchment paper
- Optional: molds for shaping (candy molds or even small cookie cutters)
Instructions
Step 1: First, if you’re using fresh coconuts, you’ll need to crack them open and carefully remove the white flesh inside. Then, blend this coconut flesh with water and strain the mixture through cheesecloth to get smooth coconut milk.
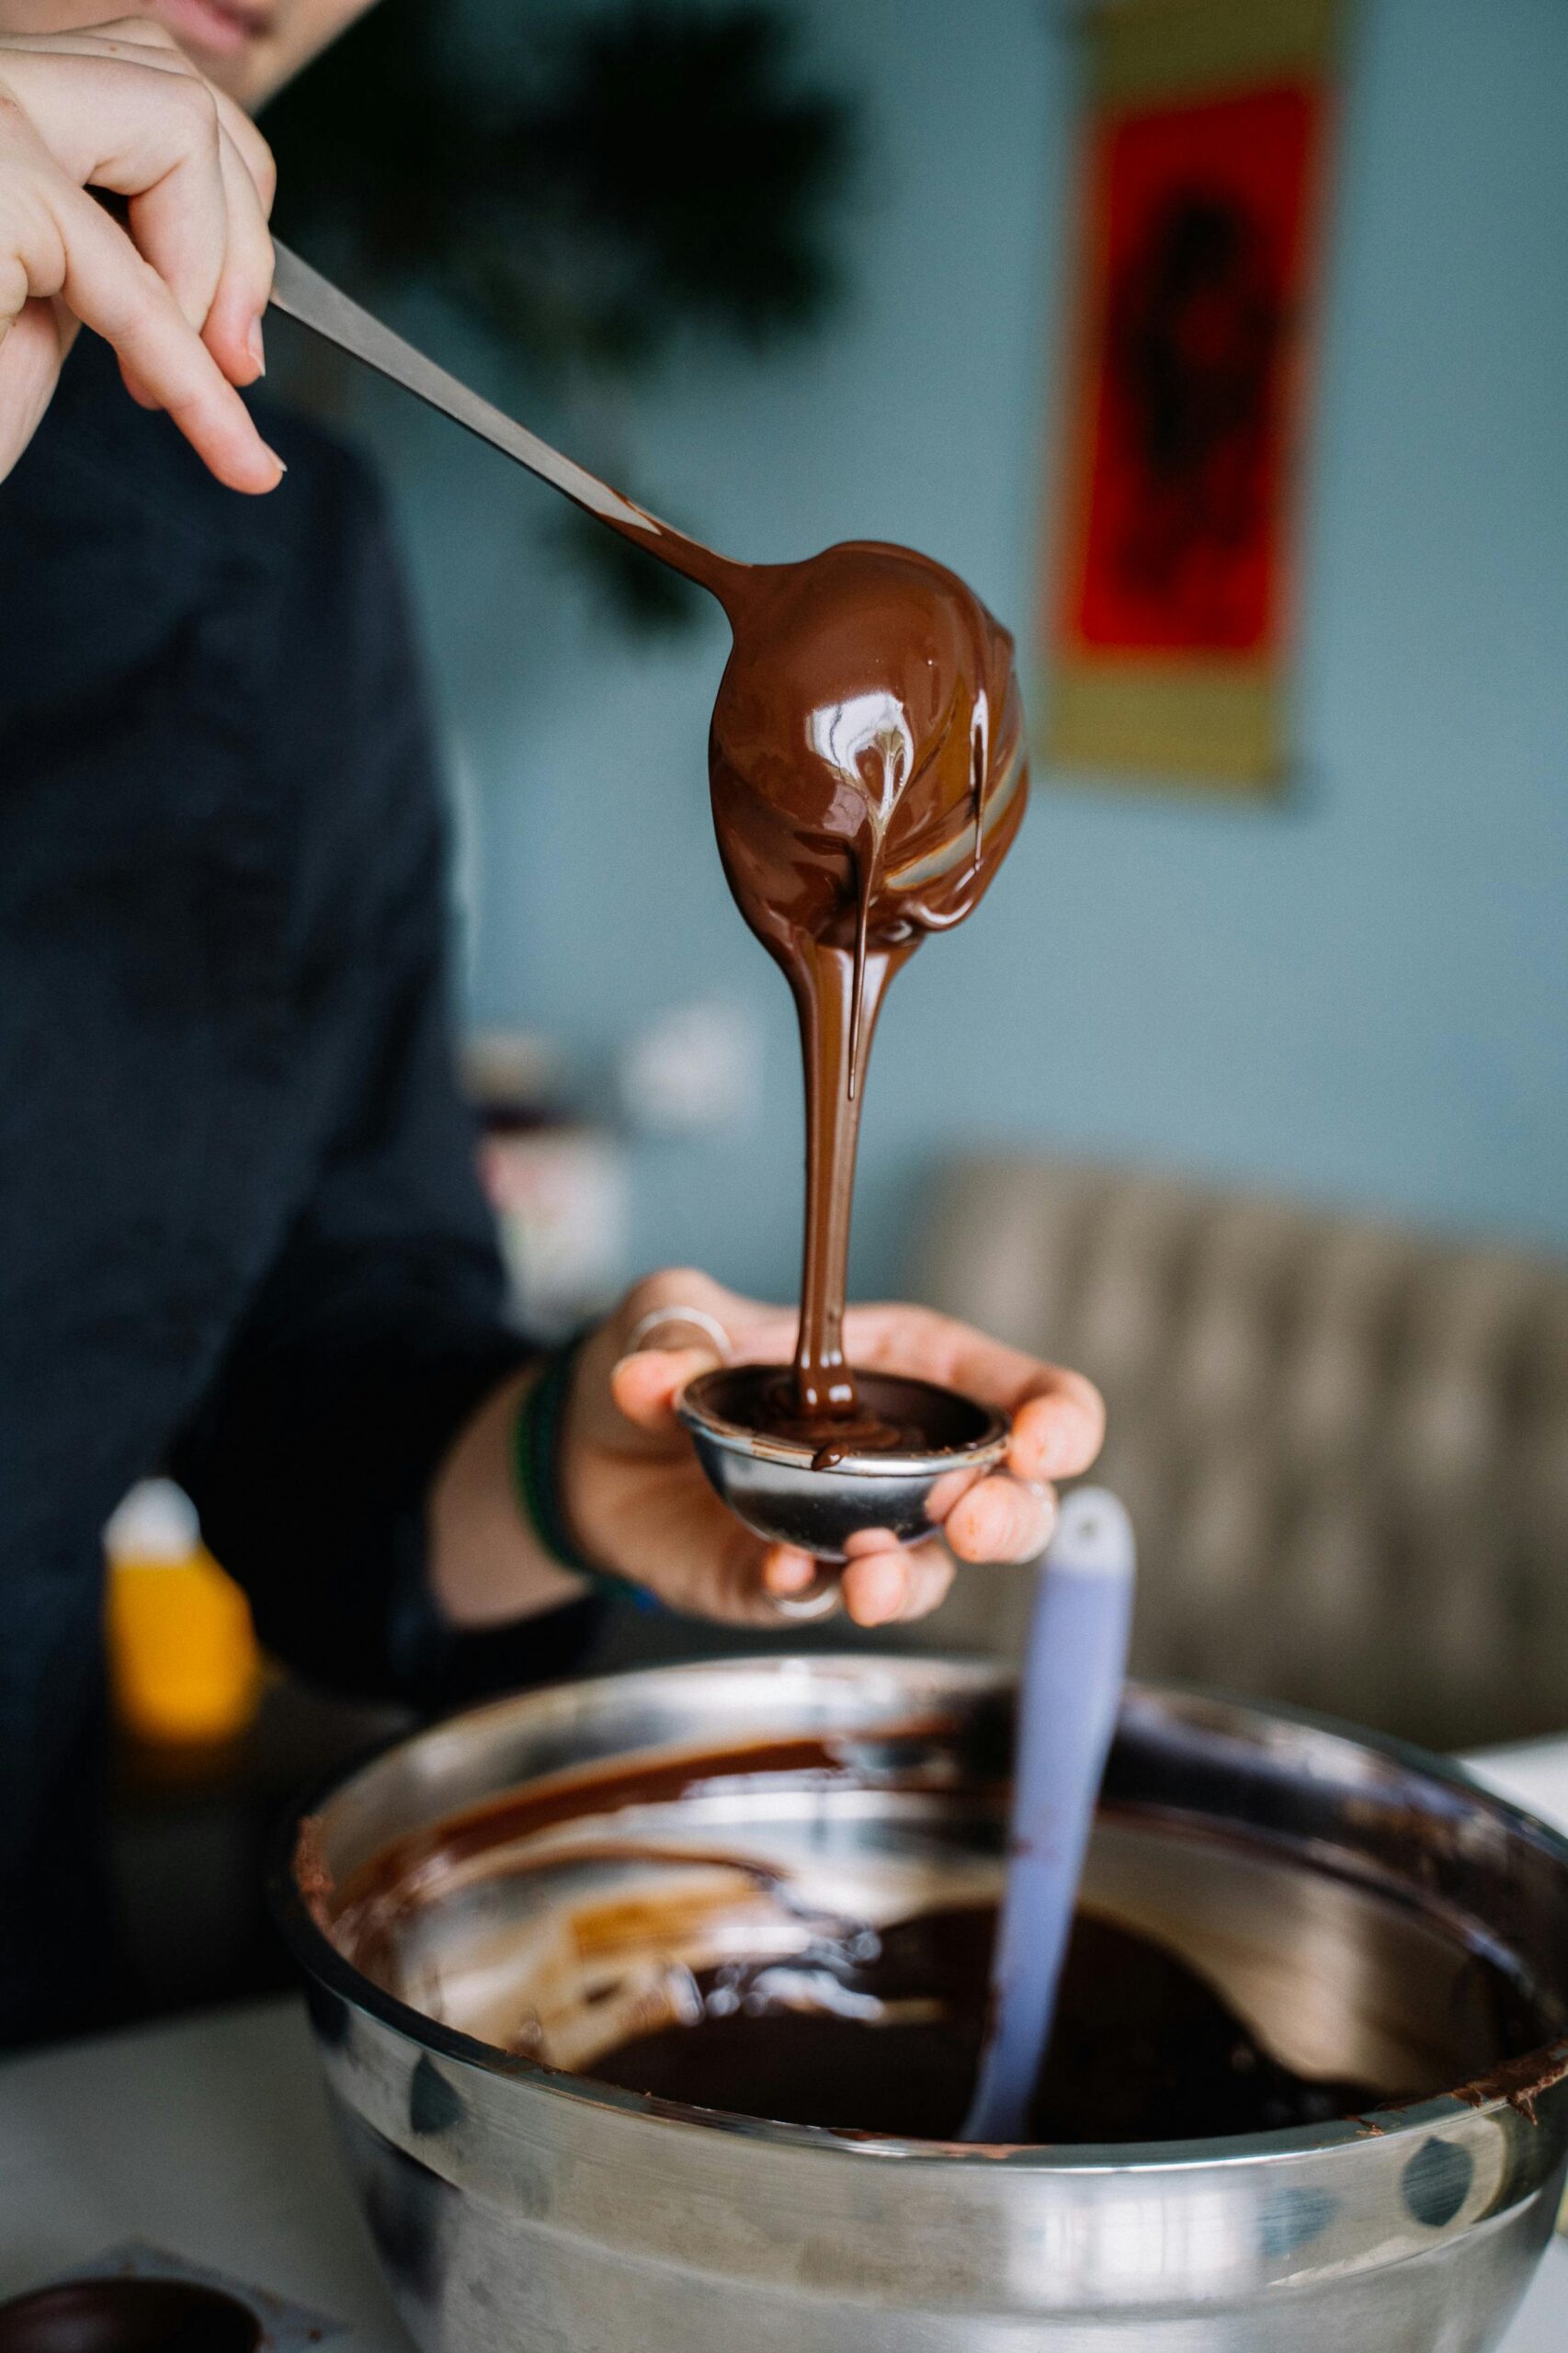
Step 2: Now, onto making the candy. In a saucepan, mix the coconut milk (it can be homemade or store-bought) with the sugar. Heat this mixture over medium heat, and stir constantly until the sugar completely dissolves.
Step 3: Once the sugar is dissolved, lower the heat and keep stirring as it thickens and changes color. Watch closely as it goes from milky white to clear, then gets kind of cloudy and finally turns into a rich caramel brown or even darker if you like.
Pro tip: Do not overcook it, or it might taste bitter. When it reaches the right color, take the saucepan off the heat and let it cool a bit until it’s warm enough for you to handle.
Step 4: Scoop up small amounts of the warm candy and roll them into balls with your hands. If it gets sticky, just rub a bit of oil on your hands to help it out. Or if you want different shapes, pour the warm mixture into molds.
Conclusion
When you’re making “Baba Dudu” candies, remember to work quickly when shaping or molding them because the mixture gets firm pretty fast once it’s off the stove. If it starts to stiffen up too much, you can soften it again by heating it gently.
Once you’re done shaping them into balls or using molds, make sure to let your baba dudu candies cool down completely before you stash them away in a container.