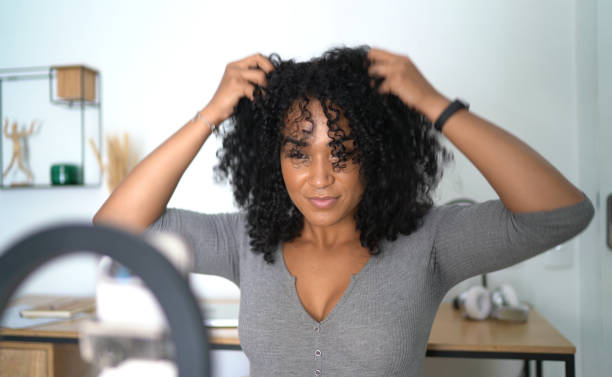
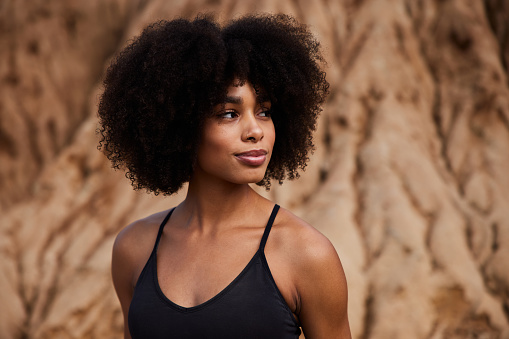
According to an online source, a photograph is an image created by light falling on a photosensitive surface. Not to bore you with what a picture/photo means because we all honestly know.
Whether it is a picture to send to a loved one, an official picture or something to upload on your social media, you definitely don’t want to end up looking weird or just /not right/ in the picture. You want to look good in real life, you want to look good in the picture too.
Tip #1: Be Comfortable

Whatever you are at that moment would most likely be reflected in your photo that it is important to be comfortable. You should really try to be in the mood. Do whatever it takes even if it means listening to music.
Tip #2: Take your time
Pictures are arts, and if you have to take your time to get that perfect pose and picture, please do. This will also in turn help you get comfortable in front of the camera.
Tip #3: Use your lightning well

If you have a ring light or any of those accessories, pull them out but if you don’t, there’s no need to fret. You can also use your natural lightning to your benefit.
I grouped the types of natural lightning according to their times.
Golden Hour: This is 1-2 hours after Sunrise and 1-2 hours before Sunset. This is when the sun is at its best, shining from its horizon.
Blue Hour: 1-2 hours before Sunrise and 1-2 hours after sunset. This is mostly used when you want to take a mellow/cool tone picture
Overhead Lighting: This is when the sun is out. It’s not normally advisable because you might produce shadows. For example, your eyebrows will shadow onto your face. Your face will shadow unto your chest region.
Overcast lighting: This is also a normal day, when the sun is out but it’s also cloudy. That way, the cloud is helping to adjust the sun’s lightning in a better way for you. Most people prefer this time.
Tip #4
If the person taking your picture is tall, they will most likely end up making you look small in the picture and vice versa. An easy way to prevent this is to make sure that they have the phone facing your chest area, that way you won’t look too small or big.
Tip #5: Always straighten the phone
Have you ever tried taking a picture that makes you look like you’re bent towards an angle even though you’re standing? You will try to edit it, but it will only end up affecting everything in your picture. It’s better to be prevented than to be edited. If they have to use a grid, let them. The horizon should be straight when taking your pictures.
Tip #6:
It’s better to keep the camera far and zoom in than to come close with it. This works for half body pictures and selfies.
Tip #7: Look Good

It’s as simple as that. If you don’t look good, the chances of your picture turning out good are at a low percentage. Don’t let your skin look ashy, you can also moisturize before a picture.
Tip #8: To get a better result, use your back camera
Whether it is an IPhone or a Samsung, back cameras are always better.
Tip #9: Wipe your camera before taking a picture
This will prevent you from taking blurry pictures. You never know how greasy or dusty your camera is until you have your pictures staring back at you.
Tip #10:
if you want your legs to look longer, it is advisable to wear a shoe that goes with your skin tone. If you want it to look smaller, wear a shoe bigger than normal.
Picture taking might be stressful and a big chunk out of your time, but you’ll most definitely be happy with yourself if you get the best results.


